Diy Birthday Banner Template
Creating a festive atmosphere for a birthday celebration doesn’t have to break the bank. A personalized touch adds a special warmth that store-bought decorations often lack. Whether you’re planning a lavish party or a simple get-together, a custom-made banner can be the perfect focal point. Designing your own is easier than you might think, and a Diy Birthday Banner Template offers a fantastic starting point for crafting a truly unique and memorable decoration. This guide will walk you through everything you need to know, from choosing the right materials to customizing your design for a perfect party centerpiece.
The beauty of a DIY banner lies in its adaptability. You can tailor it to match any theme, color scheme, or personality. Imagine a banner adorned with your child’s favorite cartoon characters, a sophisticated design for a milestone birthday, or a playful, colorful creation for a fun-filled kids’ party. The possibilities are endless, and the satisfaction of creating something with your own hands is incredibly rewarding. Plus, it’s a great activity to do with kids, fostering creativity and making them feel involved in the celebration.
Beyond the personal touch, DIY banners are also a budget-friendly alternative to expensive store-bought options. With a little creativity and some readily available materials, you can create a banner that rivals anything you’d find in a party supply store, all while saving money. This is especially appealing for those planning larger events or multiple parties throughout the year.
Furthermore, crafting a banner allows for complete creative control. You’re not limited by pre-designed templates or color palettes. You can experiment with different fonts, patterns, and embellishments to create a truly one-of-a-kind decoration that reflects the birthday person’s style and preferences. It’s a chance to express your creativity and add a personal flair to the celebration.

Finally, the process itself can be a fun and memorable experience. Gathering materials, designing the layout, and assembling the banner can be a bonding activity for families or a relaxing creative outlet for individuals. It’s a way to add a little extra love and care to the birthday celebration.
Gathering Your Materials for a DIY Banner
Before you dive into designing your banner, it’s essential to gather all the necessary materials. The good news is that most of these items are readily available and relatively inexpensive. This section will outline the key components you’ll need to bring your Diy Birthday Banner Template to life.
Choosing Your Base Material
The base of your banner can be made from various materials, each offering a different look and feel. Common choices include:
- Cardstock: A sturdy and versatile option, cardstock is available in a wide range of colors and finishes. It’s easy to cut and work with, making it ideal for beginners.
- Construction Paper: A more budget-friendly option, construction paper is great for kids’ parties. However, it’s not as durable as cardstock.
- Fabric (Burlap, Felt, Cotton): Fabric banners offer a more rustic or textured look. Burlap is popular for its natural aesthetic, while felt is soft and easy to cut. Cotton provides a clean and classic feel.
- Kraft Paper: This provides a rustic, vintage look and is very affordable.
Essential Tools and Supplies
Beyond the base material, you’ll need a few essential tools:

- Scissors or Craft Knife: For cutting out shapes and letters.
- Ruler: To ensure straight lines and accurate measurements.
- Pencil: For sketching your design.
- Glue or Tape: To assemble the banner pieces. Double-sided tape is particularly useful for a clean finish.
- String, Ribbon, or Twine: To hang the banner.
- Decorations (Optional): Glitter, stickers, markers, paint, and other embellishments to personalize your banner.
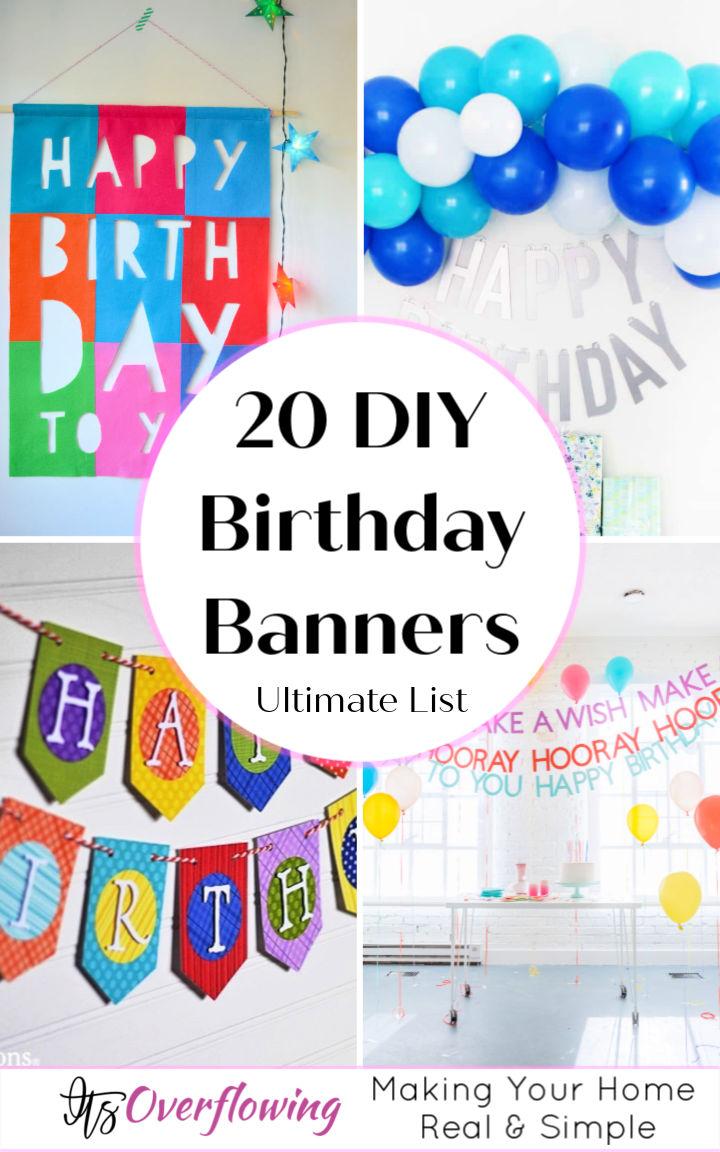
Exploring Diy Birthday Banner Template Options
There are numerous ways to approach creating a DIY banner, from simple cut-and-paste designs to more elaborate layered creations. Understanding the different options will help you choose the best approach for your skill level and desired aesthetic.
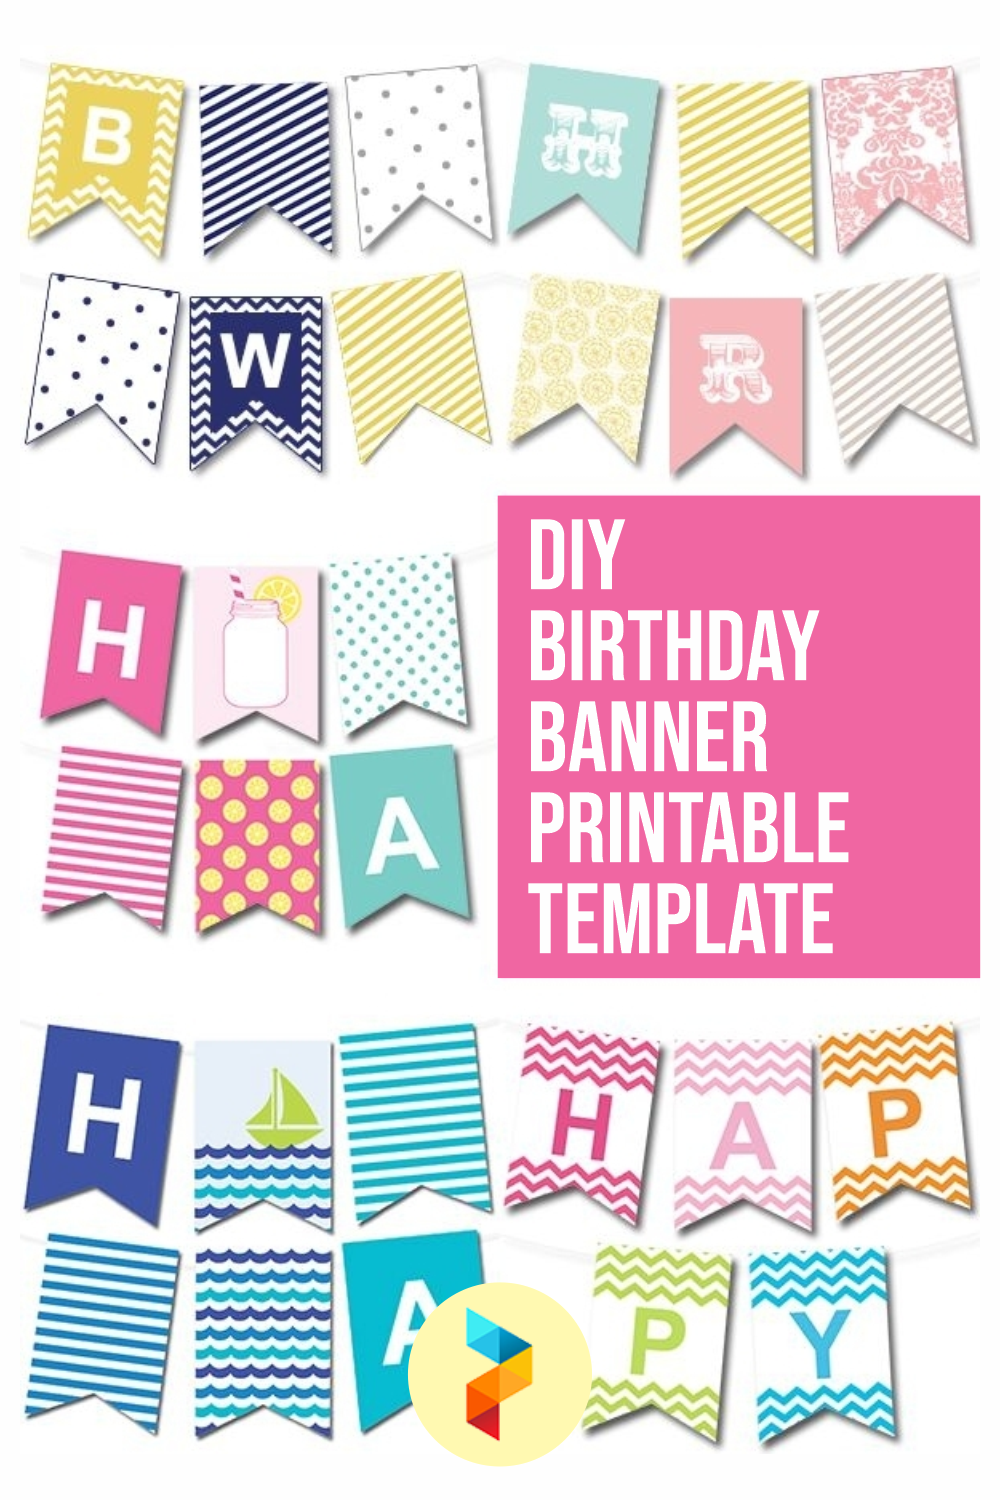
Printable Templates: A Beginner-Friendly Approach
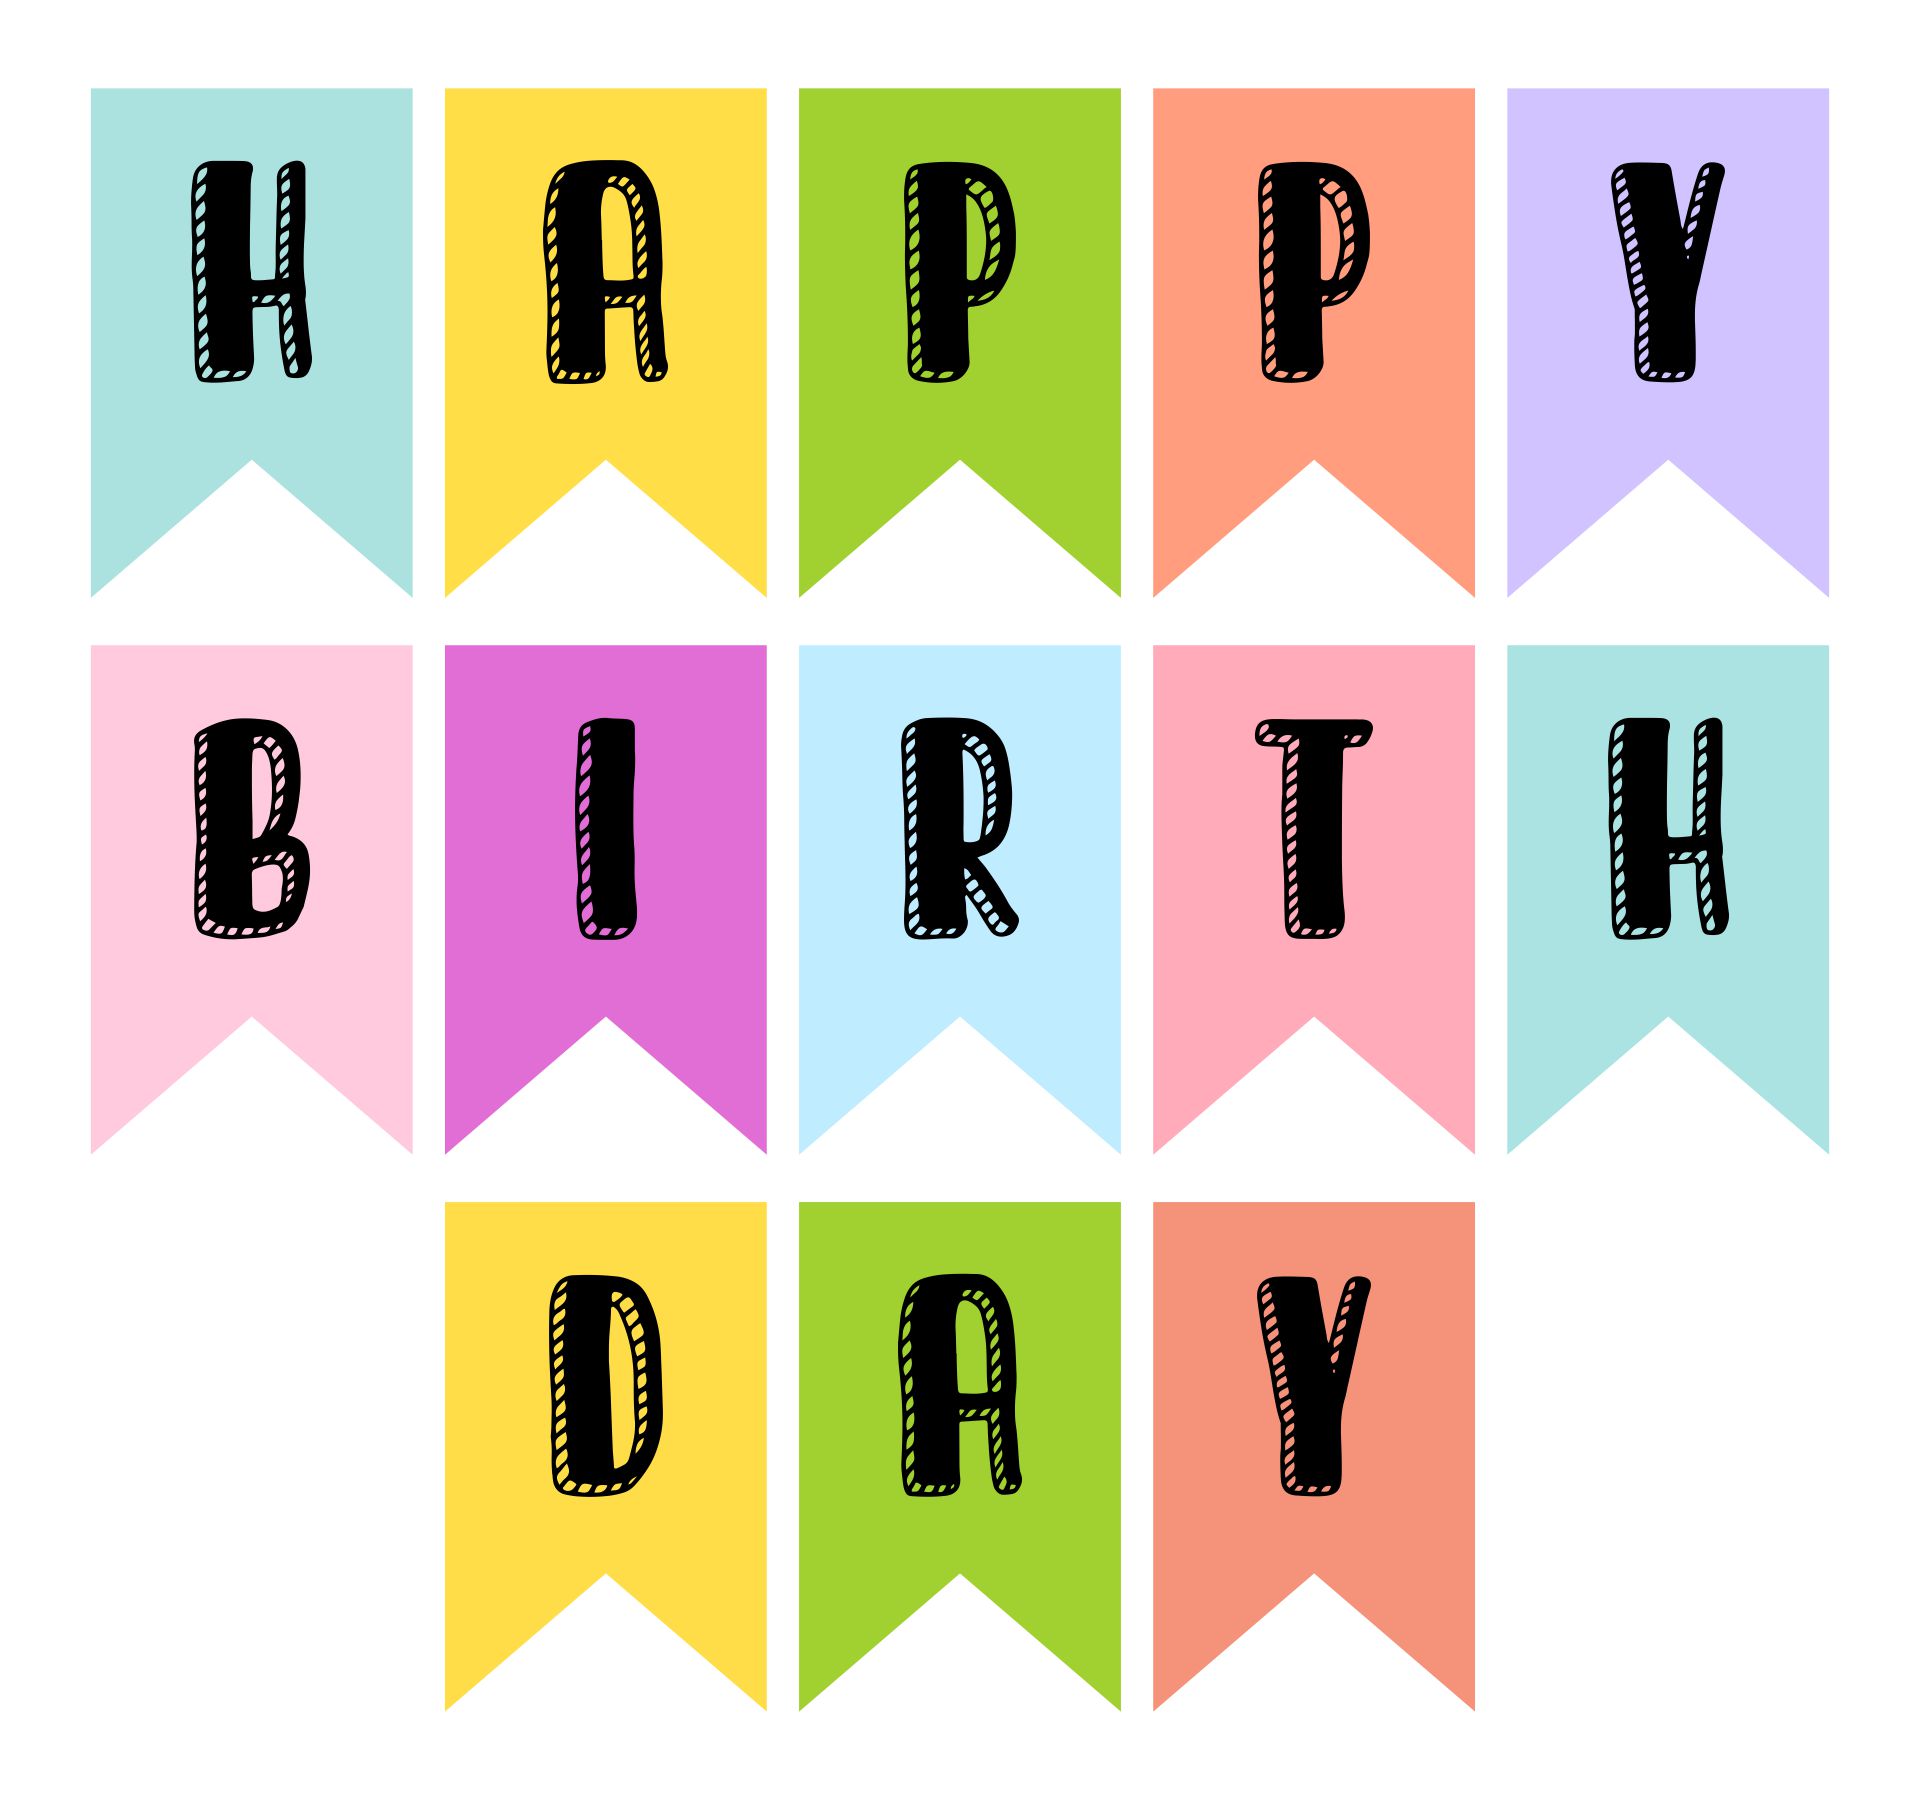
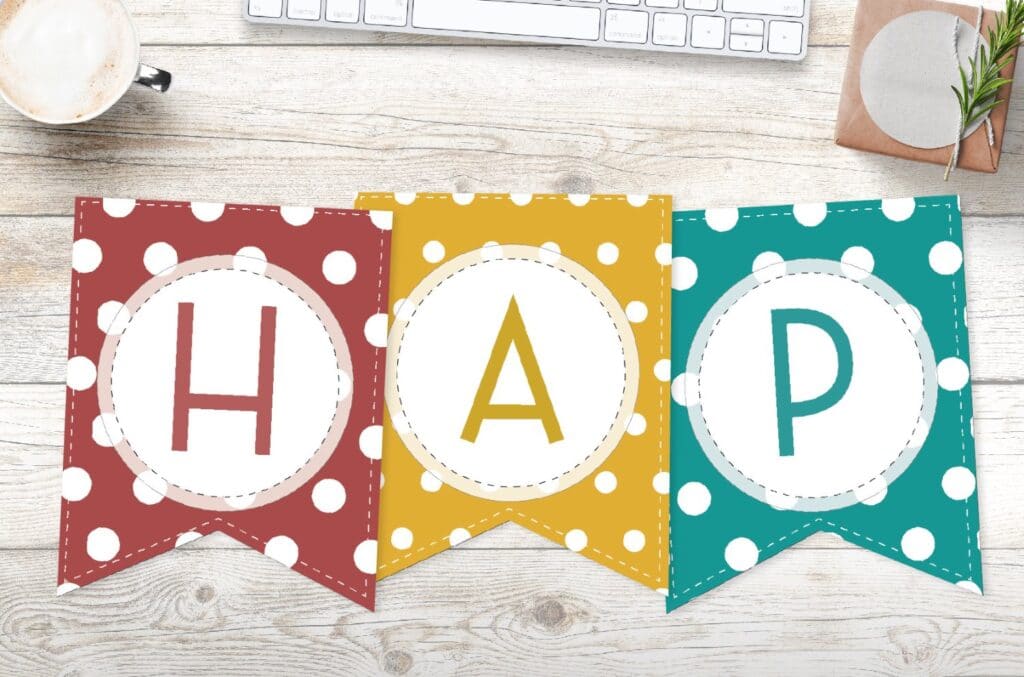
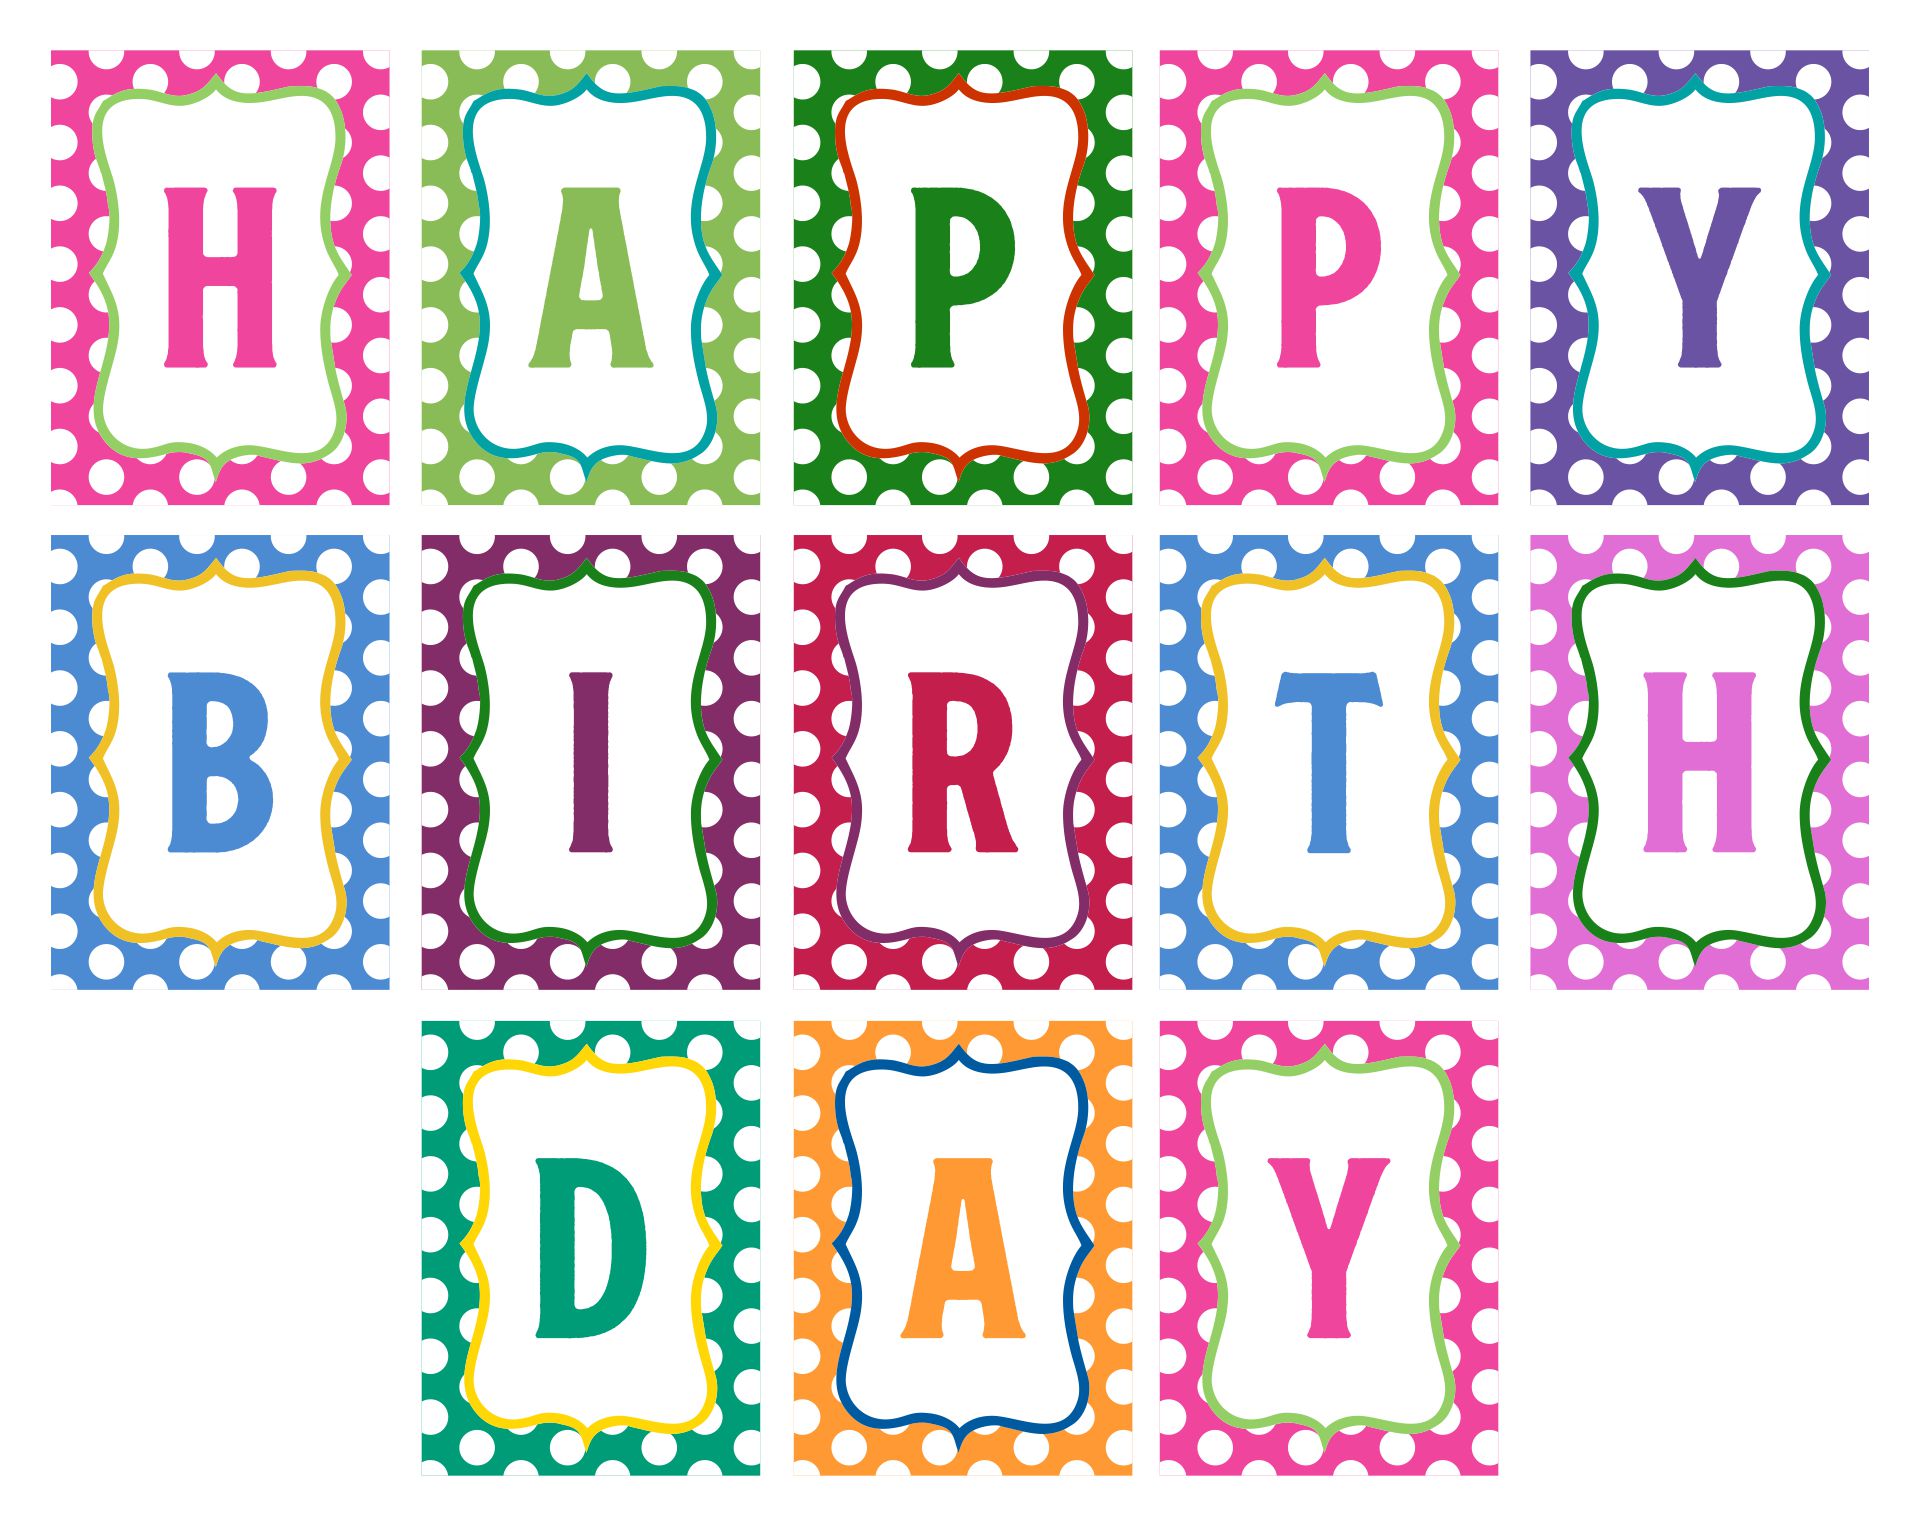
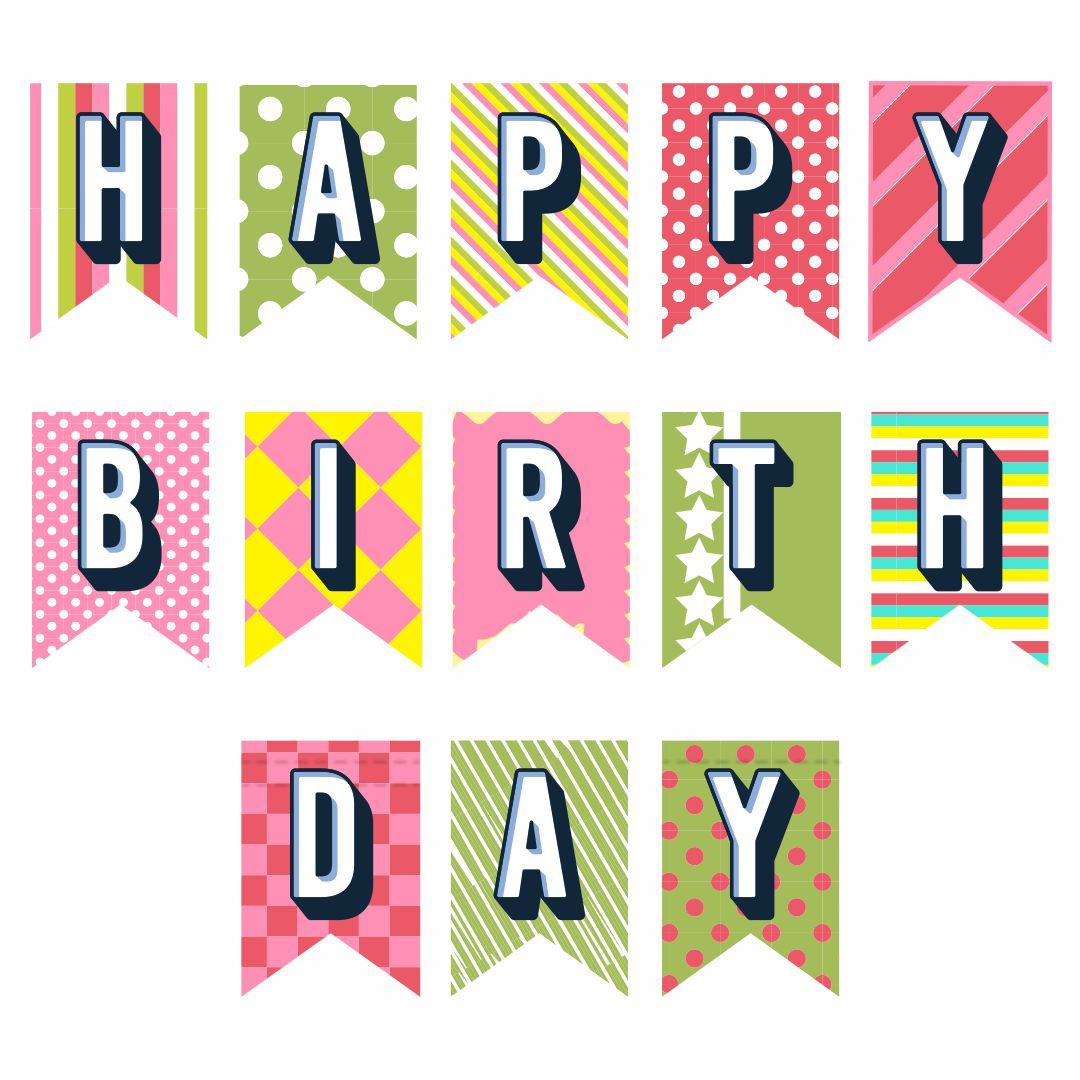
For those new to DIY projects, printable templates are a fantastic starting point. Numerous websites offer free or paid Diy Birthday Banner Template downloads. These templates typically include pre-designed letters, shapes, and patterns that you can simply print, cut out, and assemble. This method is quick, easy, and requires minimal artistic skill.
Hand-Lettered and Illustrated Banners
If you’re feeling more creative, you can opt for a hand-lettered and illustrated banner. This approach allows for complete customization and a truly unique design. You can use markers, paint, or even calligraphy to create your own lettering and illustrations.

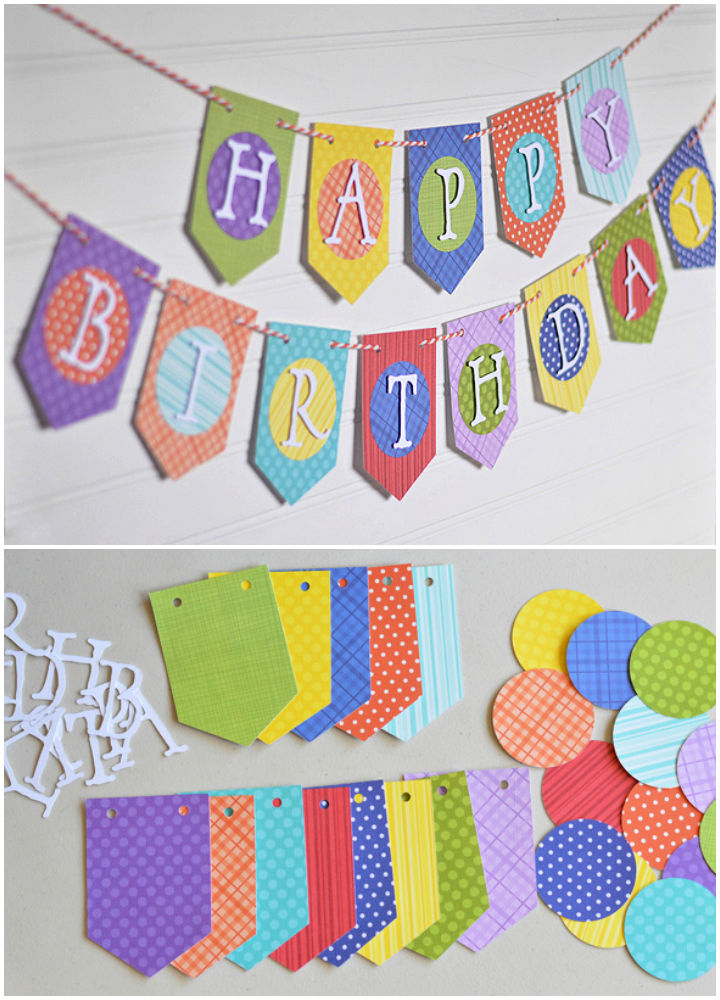
Layered and Textured Banners
For a more sophisticated look, consider creating a layered and textured banner. This involves using multiple materials and techniques to add depth and visual interest. For example, you could combine cardstock letters with fabric scraps, ribbon, and glitter.
Designing Your Banner: Tips and Tricks
Once you’ve chosen your materials and approach, it’s time to start designing your banner. Here are some tips and tricks to help you create a visually appealing and personalized decoration.
Choosing a Theme and Color Scheme
Consider the birthday person’s interests and preferences when choosing a theme and color scheme. A princess-themed party might call for pinks and purples, while a superhero party could feature bold primary colors.
Font Selection
The font you choose can significantly impact the overall look of your banner. Select a font that is legible and complements the theme. Script fonts can add a touch of elegance, while block fonts are more modern and playful.
Layout and Composition
Think about the layout of your banner before you start assembling it. Consider the placement of letters, shapes, and decorations. A balanced and visually appealing layout will make your banner more impactful.
Adding Personal Touches
Don’t be afraid to add personal touches to your banner. Include the birthday person’s name, age, or a special message. You can also incorporate photos or inside jokes.
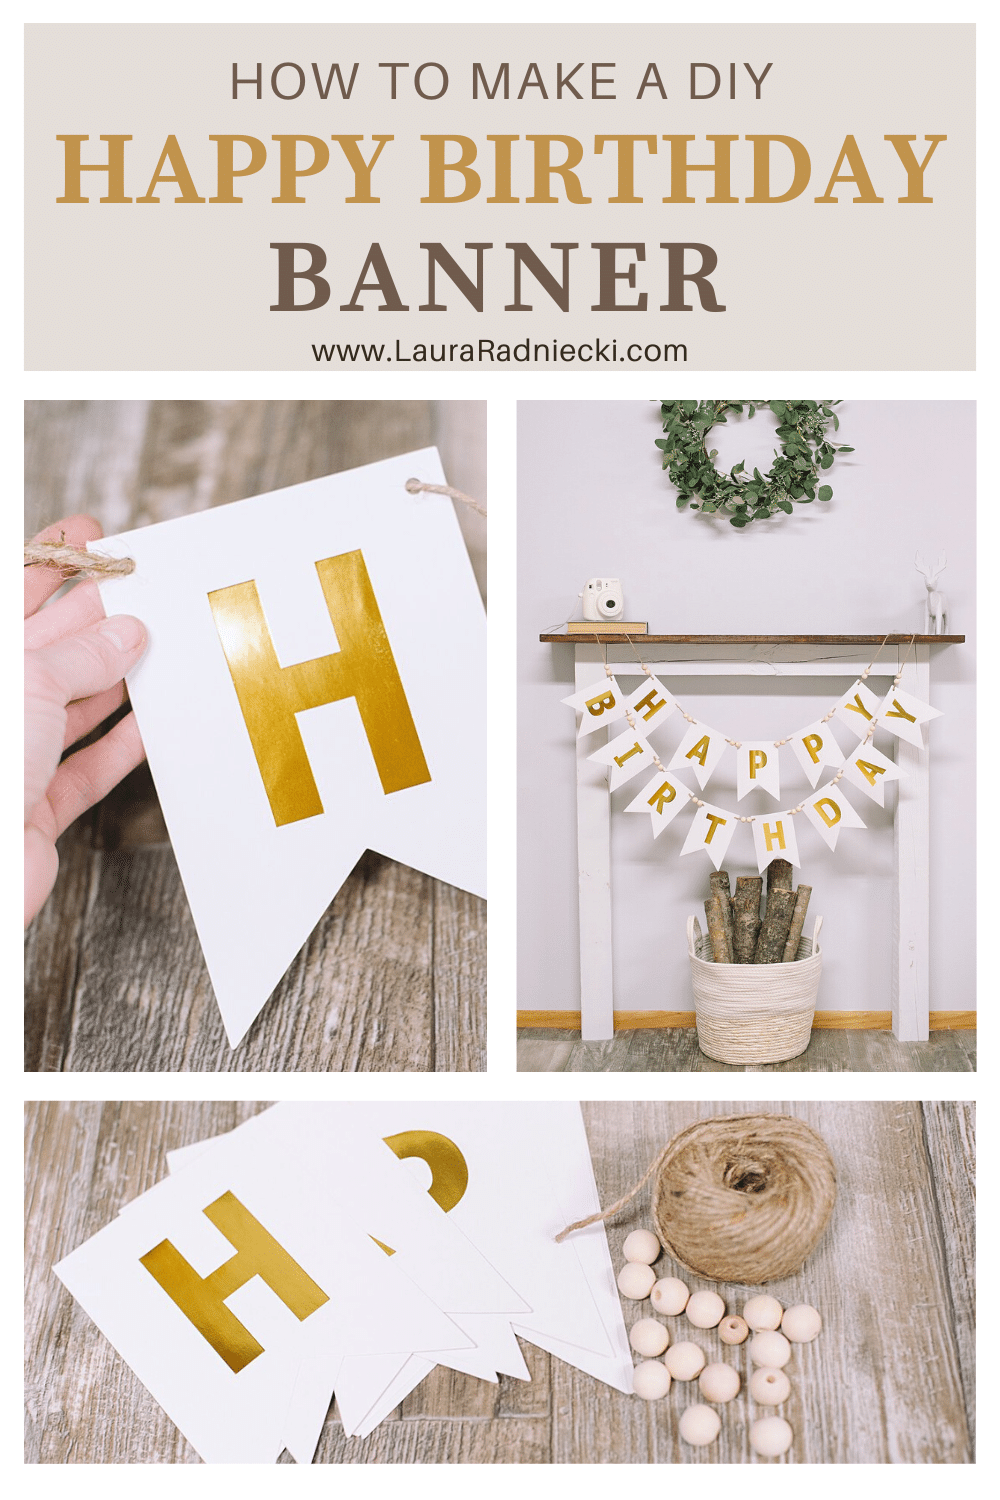
Assembling Your Diy Birthday Banner Template
With your design finalized and materials gathered, it’s time to assemble your banner. This section will provide step-by-step instructions for putting all the pieces together.
Cutting and Preparing the Pieces
Carefully cut out all the letters, shapes, and decorations according to your design. Ensure clean and precise cuts for a professional finish.
Attaching the Letters and Shapes
Use glue or tape to attach the letters and shapes to the base material. Ensure that everything is securely fastened.
Adding Decorations and Embellishments
Now it’s time to add the finishing touches. Apply glitter, stickers, markers, or paint to personalize your banner.
Attaching the Hanging String
Finally, attach the string, ribbon, or twine to the back of the banner. Space the attachments evenly to ensure that the banner hangs straight.
Creative Variations and Advanced Techniques
Once you’ve mastered the basics, you can explore more creative variations and advanced techniques to elevate your DIY banner game.
Using Stencils
Stencils can be used to create intricate designs and lettering. Simply place the stencil on the base material and apply paint or ink.
Incorporating Photos
Adding photos to your banner is a great way to personalize it and create a sentimental keepsake. You can print photos and glue them onto the banner or use photo transfer techniques.
Creating a 3D Banner
For a more eye-catching effect, consider creating a 3D banner. This involves using multiple layers of materials to create a dimensional design.
Conclusion
Creating a Diy Birthday Banner Template is a rewarding and budget-friendly way to add a personal touch to any birthday celebration. From simple printable templates to elaborate layered creations, there’s a DIY banner option for every skill level and aesthetic. By following the tips and techniques outlined in this guide, you can craft a unique and memorable decoration that will be cherished for years to come. Remember to embrace your creativity, have fun with the process, and personalize your banner to reflect the birthday person’s style and preferences. The joy of creating something with your own hands is a gift in itself, and it will undoubtedly add an extra layer of warmth and celebration to the special day.
]]>