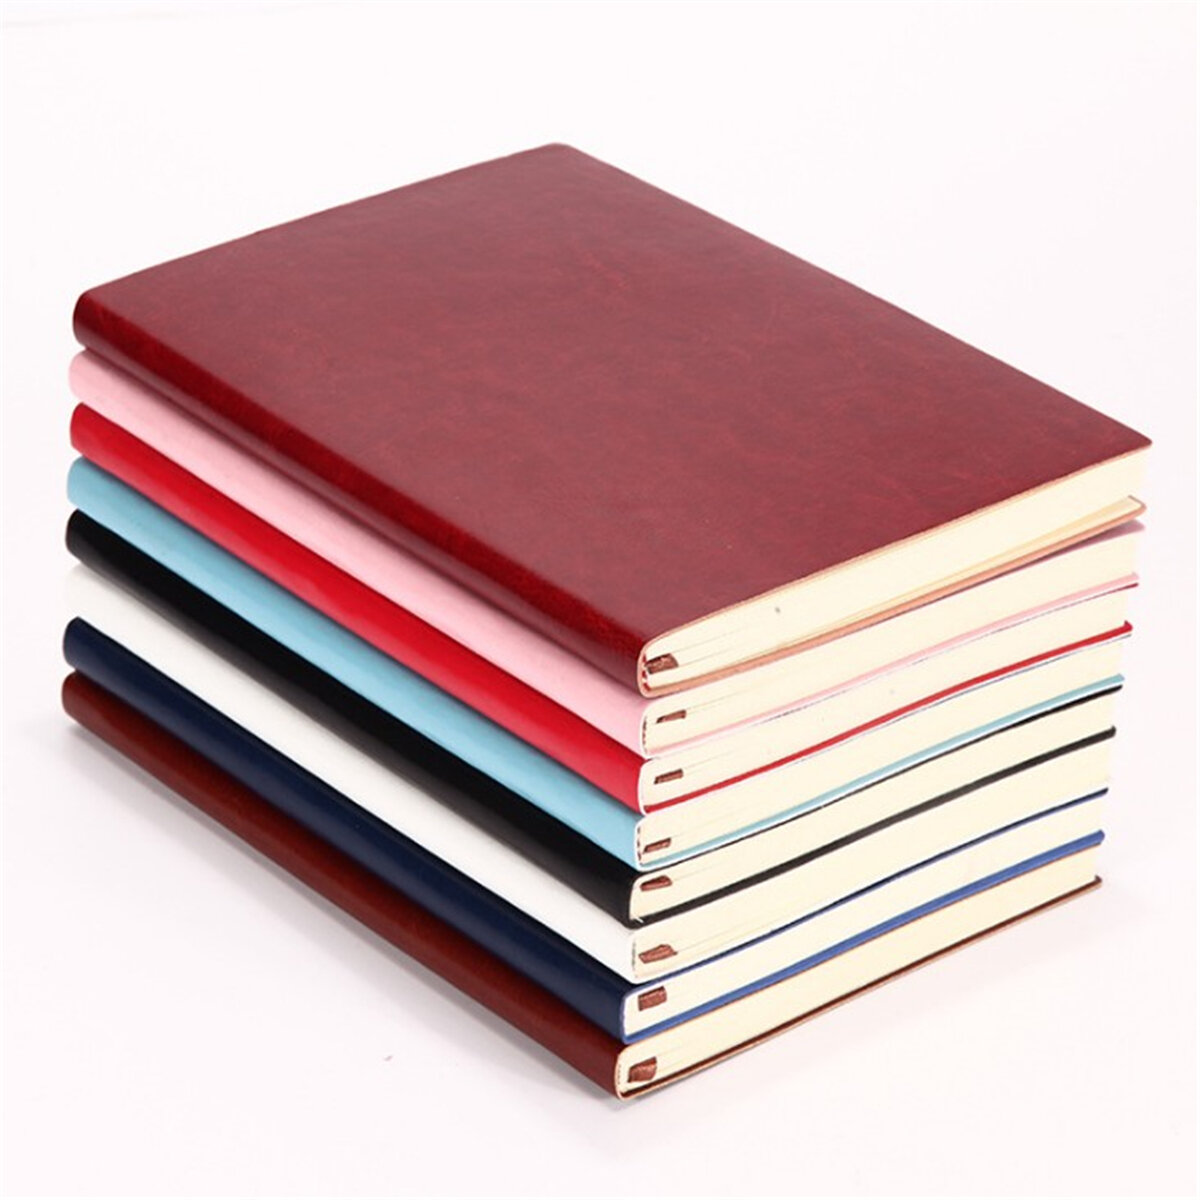
Notebook Paper Template For Word 2010
Creating a notebook paper template in Microsoft Word 2010 can be a useful way to generate documents that resemble traditional lined paper. This is helpful for taking notes, drafting handwritten-style content that needs to be digitized, or for creating worksheets and other educational materials. While Word 2010 may seem a bit dated compared to more recent versions, it’s still a powerful tool that can be customized to suit a variety of needs. The process involves utilizing Word’s table features, line spacing options, and header/footer functionality to create a realistic and functional notebook paper appearance. We will explore several methods to achieve this result, ranging from simple, manual approaches to more automated techniques that leverage Word’s built-in functionalities. Ultimately, the goal is to provide you with the knowledge and skills necessary to create a customized notebook paper template that meets your specific requirements within the Word 2010 environment.
Creating a Notebook Paper Template in Word 2010
There are several approaches you can take to create a notebook paper template in Word 2010. Here’s a breakdown of some popular methods:
Method 1: Using Tables for Lines
This method utilizes Word’s table feature to create a series of horizontal lines that resemble notebook paper lines. It provides a good level of control over line spacing and overall appearance.
- Step 1: Open Microsoft Word 2010 and create a new blank document (File > New > Blank Document).
- Step 2: Insert a table with one column and as many rows as you want lines on your paper (Insert > Table > Insert Table). Estimate how many rows you need based on the desired line spacing. A good starting point is usually around 30-40 rows for a standard page.
- Step 3: Adjust the row height. Select the entire table (click the table handle in the upper-left corner). Go to Table Tools > Layout > Cell Size group. Set the “Height” to a value that simulates lined paper. Experiment with values like 0.3 inches, 0.35 inches, or 0.4 inches until you achieve the desired line spacing.
- Step 4: Remove the table borders. Select the entire table. Go to Table Tools > Design > Borders > No Border. This will hide the table cell borders, leaving only the horizontal lines defined by the rows.
- Step 5: Add a margin line (optional). You can insert a vertical line to represent the left margin of the notebook paper. Go to Insert > Shapes > Line. Draw a vertical line near the left edge of the page. Format the line (right-click > Format Shape) to be red or another color you prefer for a margin line. Adjust its position and length as needed. To ensure the line stays in place, you can anchor it to the header or footer (see below).
- Step 6: Add a header for the date and subject (optional). Double-click in the header area of the document (or Insert > Header > Blank). Add text boxes to the header. In one text box, type “Date:” and adjust its position. In another text box, type “Subject:” and adjust its position. You can format these text boxes (e.g., no fill, no outline) to blend seamlessly with the paper.
- Step 7: Save the document as a Word Template (.dotx). File > Save As > Save as type: Word Template (*.dotx). Give it a descriptive name like “NotebookPaperTemplate.dotx”. Save it in the default Templates folder for easy access.
Method 2: Using Paragraph Borders and Line Spacing
This approach utilizes paragraph formatting to create the lined appearance. It might be slightly less precise than the table method, but it’s often quicker.
- Step 1: Open Microsoft Word 2010 and create a new blank document (File > New > Blank Document).
- Step 2: Adjust the line spacing. Go to Home > Paragraph group > Line Spacing. Select “Line Spacing Options…”. In the Paragraph dialog box, under “Spacing”, set the “Line spacing” to “Exactly” and enter a value that simulates lined paper (e.g., 18 pt, 20 pt, 22 pt). Experiment to find the best value.
- Step 3: Add a bottom border to each paragraph. Go to Home > Paragraph group > Borders > Borders and Shading. In the Borders and Shading dialog box, select the “Borders” tab. Select “Box” or “Custom”. Choose a solid line style and a light color (e.g., light gray). Make sure the “Apply to:” field says “Paragraph”. Click on the bottom border preview in the dialog box to apply the border only to the bottom of the paragraph.
- Step 4: (Important) To prevent the border from appearing on the first line, create a “style” for the lines. Click Home > Styles > Change Styles > Style Set > Create New Style. Call it “NotebookLine”, Set the Style Type to “Paragraph”, and set the Style Based on to “Normal”. In the formatting section, click Format > Border. Under Settings, choose None. Click OK. Under “Formatting” in the Modify Style Dialog, choose the border options that you used earlier: “Box” or “Custom”. Choose a solid line style and a light color (e.g., light gray). Make sure the “Apply to:” field says “Paragraph”. Click on the bottom border preview in the dialog box to apply the border only to the bottom of the paragraph. Click OK. Now, start a *new* paragraph and select the “NotebookLine” style. If you select the “NotebookLine” style on the *first* line, then the first line will also have a bottom border.
- Step 5: Add a margin line (optional). As in Method 1, use Insert > Shapes > Line to draw a vertical line representing the left margin.
- Step 6: Add a header for date and subject (optional). As in Method 1, insert text boxes in the header to create date and subject fields.
- Step 7: Save the document as a Word Template (.dotx). File > Save As > Save as type: Word Template (*.dotx). Give it a descriptive name like “NotebookPaperTemplate_Paragraph.dotx”.
Method 3: Using Images (Less Recommended)
This method involves inserting an image of lined paper as a background. While simple, it’s less flexible than the other methods, as you can’t directly type on the lines and it might not scale well.
- Step 1: Find or create an image of lined notebook paper. You can search online for free images or create one yourself using a graphics editor.
- Step 2: Open Microsoft Word 2010 and create a new blank document.
- Step 3: Insert the image as a background. Go to Page Layout > Page Background > Watermark > Custom Watermark. Select “Picture watermark” and choose the image you saved. Uncheck “Washout” to make the lines more visible. Adjust the scale as needed.
- Step 4: Add a header for date and subject (optional). As in the previous methods.
- Step 5: Save the document as a Word Template (.dotx).
Once you’ve saved your template, you can access it by going to File > New, then looking under “My templates” (or a similar category depending on your version of Word). Using templates allows you to quickly create new documents based on your pre-defined notebook paper layout.
If you are looking for Notebook PNG you’ve visit to the right page. We have 15 Pics about Notebook PNG like Amazon.com : Yansanido Spiral Notebook, 4 Pcs 8.3 Inch x 5.9 Inch A5, Oxford 3-subject Small Wirebound Notebook | TOP25447 – Office Supply Hut and also DOMS 6 Subject Spiral Notebook(Nature Series) – DOMS. Here you go:
Notebook PNG

pngimg.com
Notebook Lenovo Ideapad 3i Intel Core I3 11ª Geração 4GB RAM – 256GB

www.liliani.com.br
Asus Notebook – Perumperindo.co.id

www.perumperindo.co.id
Amazon.com : TWONE Pocket Notebook, 6 Pack Softcover Mini Notebooks 3.5

www.amazon.com
Journal Notebook – Homecare24
homecare24.id
Personalized Spiral Notebooks In Bulk – Design Your Custom Notebook
www.customnotebook.com
Oxford 3-subject Small Wirebound Notebook | TOP25447 – Office Supply Hut
www.officesupplyhut.com
Amazon.com : Yansanido Spiral Notebook, 4 Pcs 8.3 Inch X 5.9 Inch A5

www.amazon.com
Amazon.com : Mead Spiral Notebook, College Ruled, 1 Subject, 70 Sheets

www.amazon.com
Notebook Acer Intel Celeron 4GB 128GB Windows 11 Tela 14" Full HD A314

secure.carrefour.com.br
You Won’t Believe What This Notebook Can Do! – The Single Mom Blog

thesinglemomblog.com
DOMS 6 Subject Spiral Notebook(Nature Series) – DOMS

domsindia.com
Samsung Notebook 9 Pro 13 Inch 2019 – Notebookcheck.net External Reviews
www.notebookcheck.net
Writing Notebook

ar.inspiredpencil.com
11 Best Notebooks And Notepads Of 2025, Editor Tested And Reviewed

www.esquire.com
Asus notebook. Notebook png. 11 best notebooks and notepads of 2025, editor tested and reviewed